This is the first part of our tutorial on the WordPress plug-in Yoast. Part one focuses on the technical SEO aspects – walking you through the steps to follow to optimise your sites for search engines. Part two, released next month, explains the on-page optimisation capabilities you can get with Yoast.
You know that a website that doesn’t appear in search results is as good as dead. To make sure any site you work on doesn’t vanish somewhere into the deep corners of the web, you need to properly optimise it for search engines. Yoast SEO is a great all-in-one SEO plug-in for WordPress websites that can help you to achieve this goal.
In this article, we’ll walk you through the steps you need to optimise your client sites for search engines using Yoast.
Let’s get started.
Yoast Configuration Wizard
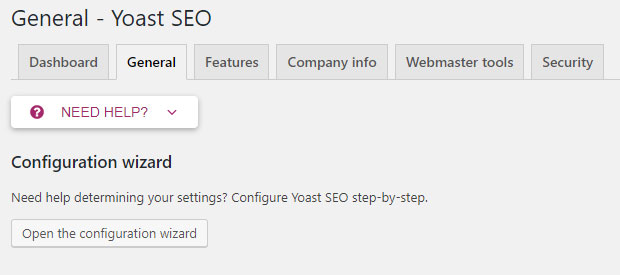
Once you’ve installed Yoast, you then need to run the Configuration Wizard, which you can find on your WordPress Dashboard. You can also find the Configuration Wizard under the General Tab.
Once you’re in the Configuration Wizard, there are 12 steps you’ll need to follow.
While it’s important to follow all the steps, make sure to pay close attention to these:
Step 2 – You’ll need to specify whether your client’s site is live and ready to be indexed, or if it’s under construction. If it’s still a work-in-progress and you don’t want the public to see it yet, keep it noindex. Just remember to come back to the plug-in when the site’s ready to be launched so you can index it!
Step 6 – This is where you can choose to set posts, pages, and media files to be hidden or visible. If you tick “visible” on any of the options, then a sitemap will be created. Unless images play an important role on the website and should be included in search results, then you should tick the Hidden box.
Step 7 – Specify if the website has more than one author. If the client’s site has multiple contributors, then it’s best to keep the author pages noindex. The articles will be listed under the category pages, so the author pages provide nothing but duplicate content. They’re very useful to keep on the website if the users want to read more articles by the same author, but there’s no real value in indexing them.
Step 8 – You can connect your website to the Google Search Console. This’ll let you keep an eye on 404 errors and other search-related items. But we’d only recommend doing this if you were going to upgrade to Yoast’s Premium plan.
Step 9 – This is where you can add the name that Yoast will automatically add at the end of each page title. If your client is serious about building a brand, or if you’re setting up a blog for a well-known brand, then automatically adding the brand name in the page title can be a good idea. Otherwise, you and your client might want to use that space to draft titles that entice users to click.
Once you’ve run the Configuration Wizard, you’ll find that most of the settings have been covered by the Wizard, except for the Security settings.
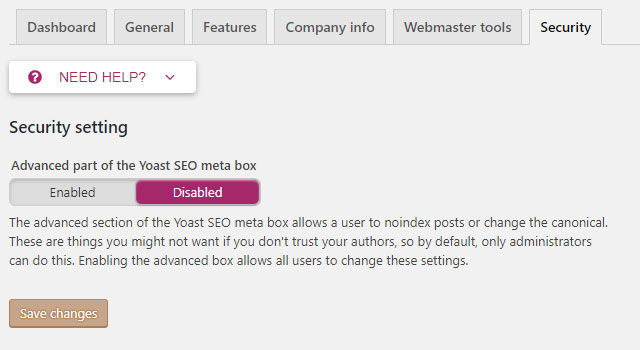
Here, you can disable the advanced Yoast SEO meta box for posts. If multiple authors have access to this WordPress site, it’s better to keep this setting disabled. This allows the administrator the ability to make easy changes across the site, such as adding meta robots or canonical tags, without authors changing things.
Setting up Titles and Meta Tags
in the General tab, you have the ability to force rewrite titles.
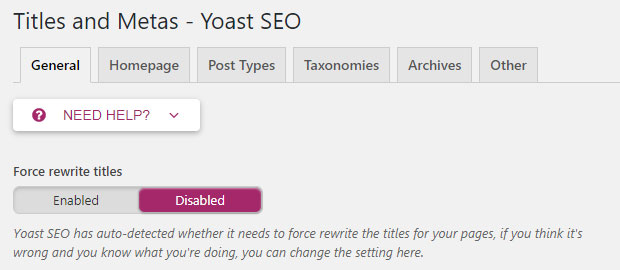
Keep in mind that force rewriting titles is only available if the theme is older and doesn’t declare support for the newer title-tag feature. It’s better to keep this disabled, as even though it can fix duplicate site names in titles, it can also slow down your site.
The safest option is to have force rewrite disabled and then advise your client to always write custom SEO-friendly titles and meta descriptions for each page and post they publish.
If you need to check if there are any duplicate site names in the titles, you’ll need to go to the client’s Google Search Console to see.
Also in the General tab, you can choose the symbol you want to use for your title separator, such as a backslash (\), a pipe (|), or a dash (-), as well as enable or disable readability and keyword analysis. We’d recommend keeping both readability and keyword analysis enabled, as these are very useful tools for writers.
Under ‘Post Types’, you can edit the title and meta description for each new page. Keep the settings as they are, with robots set to ‘index’ and the SEO Meta Box available on each post.
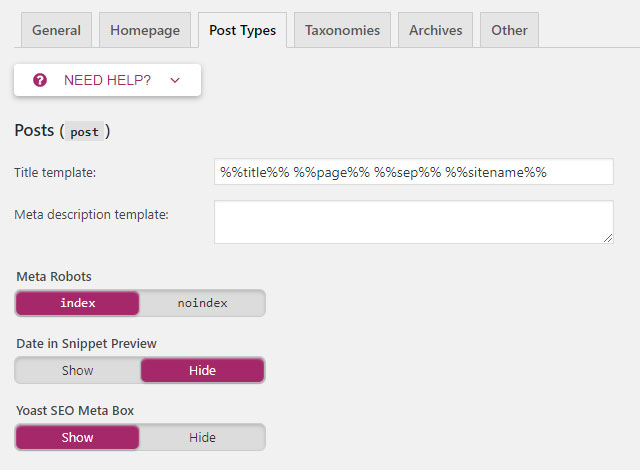
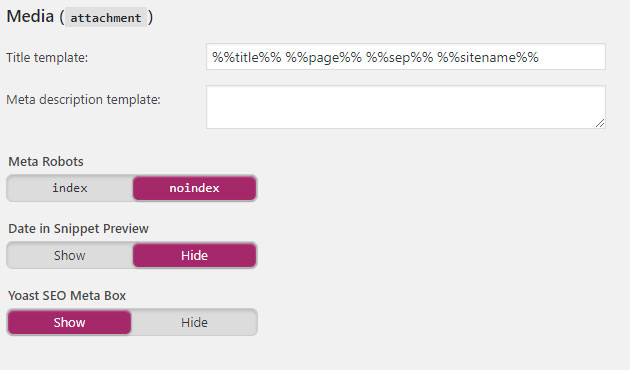
You’ll also see the “Date in Snippet Preview” option. This is for whether or not you want the article’s publish date shown in the search results. While this increases click-through rates for new content, it doesn’t help older content. Rather than using this option, you can include the “Last Updated” date at the top of your posts. Read WPBeginner’s article on how to display the Last Updated date in your posts to find out more. Naturally, you wouldn’t want dates on product or services pages, so turn off this feature.
Use the same settings for Pages and Media as well. However, if you don’t want your photos or documents indexed, set Media to ‘noindex’.
Under the ‘Taxonomies’ tab, you can set up the titles and descriptions for your Categories, Tags, and Formats collections. If you have detailed tagging and categories for your posts, this is a great way to point people to particular subjects. If you’re not using categories or tags, set these to ‘noindex’ so that they’re not picked up by search engines.

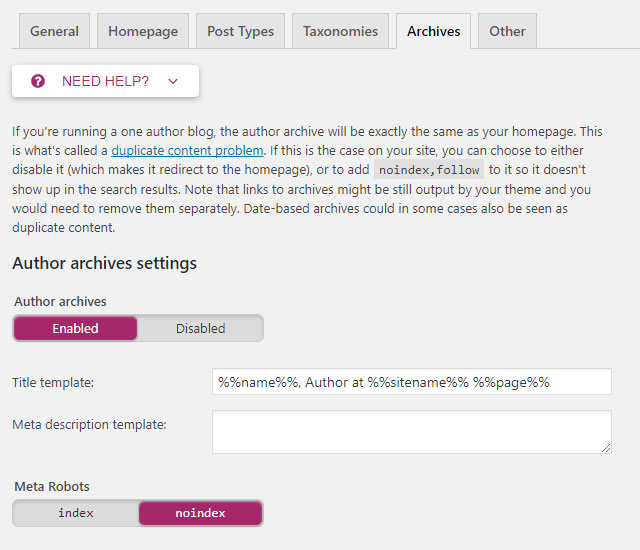
In ‘Archives’, you can set the meta tags for the Author archives and Date archives. We recommend that you set ‘noindex’ for the Author archives, as it’s duplicate content that isn’t needed. However, you can set up title tags for both Search and 404 pages, which lets you make the title as clear as you want.
In the advanced settings for each post, you can fill in details that apply to that page. Keep ‘Meta Robots Index’ as the default, which will make your posts indexable. (You can change this on the individual pages as needed.) Make certain ‘Follow’ is ticked for ‘Meta Robots Follow’ so that all the links on the pages are appropriately followed. And in ‘Meta Robots Advanced’, use ‘site-wide default: None’. This stops a site-wide robots tag as well, which means you can set your indexing as necessary.

The Other tab
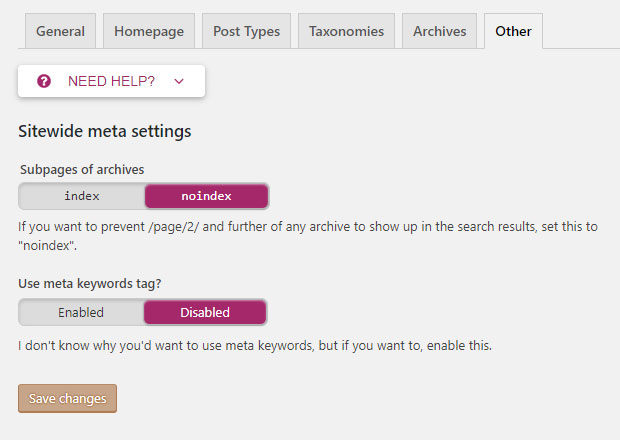
In the Other tab, you can do some of the final changes that make your site a lean, mean, optimised machine. For example, setting subpages to ‘noindex’ cuts down on the duplicate content.
The meta keywords tag is no longer used by search engines for indexing, as they were being overused for spamming. It’s as Yoast says – “I don’t know why you’d want to use meta keywords.”
Setting up social media
Yoast also lets you associate your social profiles with your site. Add in all the profiles where there’s a presence to make it easier for search engines to connect the two.
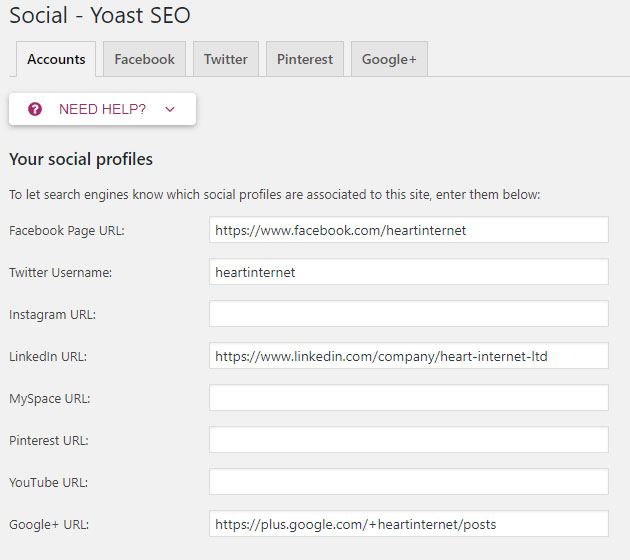
Under the Facebook tab, you can set Open Graph meta data – this means that when someone posts your site to Facebook, it’ll have the right title, image, and description. You can also set up a generic image just in case.

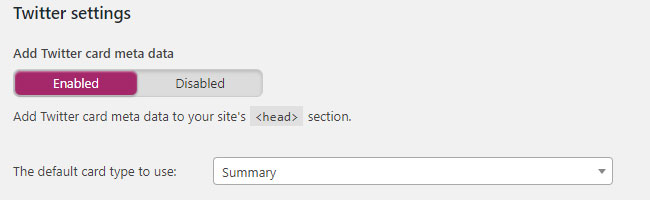
Twitter uses a card, so enable that under the Twitter tab. And if your client has a strong Pinterest base, you can confirm your website, which adds your profile picture to any Pin that comes from your site. Read Pinterest’s guide to confirming your website.
Building up your XML sitemap
Google recommends sitemaps to have a maximum of 50,000 URLs. Yoast sets up the sitemap for you so that you don’t need to generate it yourself, and lets you set a limit of URLs so that you can have a range of smaller sitemaps to cut down on memory issues.

It also lets you choose what should be allowed in the sitemap, including author archives, media, categories, tags, and more. Anything that’s in the sitemap should:
- Return a 200 OK status
- Be the canonical version
- Not have ‘noindex’ in the meta robots tag
- Should not be excluded in the robots.txt file

If your client has an e-commerce site, we recommend adding the images to the XML sitemap, as this increases the chances of getting the site found through an image search.
Under Excluded Posts, you have the option of manually removing pages from the sitemap just by adding the Post ID. You can find the Post ID in the URL when you edit any post.
![]()
If you redirect an older page to a newer one, you’ll find that Yoast will still add the old URL to the sitemap. Since the page still exists in the database, it still thinks it’s part of the site and adds it. You’ll need to delete the page entry from the database. The redirect should still work, since it’s URL-based, not page-based, and the sitemap will then be accurate.
Advanced features
If you have a good categorisation architecture, you can set up breadcrumbs in your search engine results. This makes it easy for potential visitors to see what you have on offer.
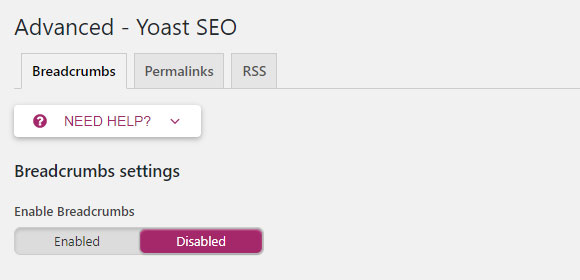
If you enable breadcrumbs, your search engine results will look like this:

In Permalinks, you can edit the links that exist in your site. Whether clearing out the “/category/” base, redirecting attachments to the parent post, or removing stop words, Yoast helps you keep easy to remember and clean URLs.

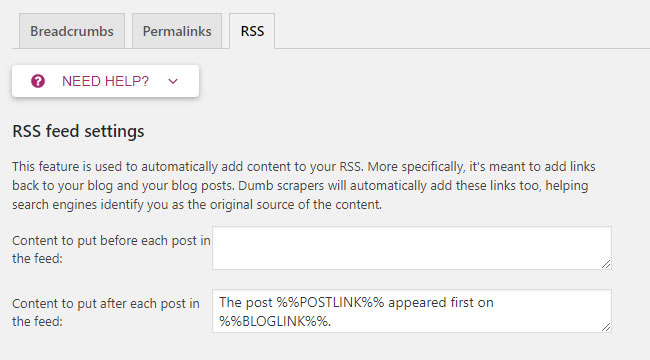
And in RSS, if you want detailed information in your RSS feed, you can also add in before and after content to make it even nicer.
Yoast tools
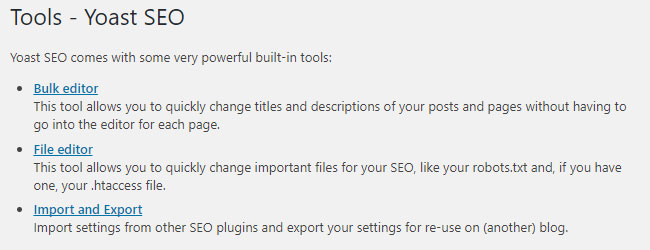
Yoast has three built-in tools to help you even further.
The Bulk Editor lets you change titles and descriptions without having to go into the editor for each and every page – very convenient for when you’re rebranding.
The File Editor lets you make changes to important files, such as the robots.txt or the .htaccess file.
The Import and Export lets you import previously configured Yoast SEO settings (such as if you’re moving a WordPress site from one server to another) or configurations from other SEO and redirection plug-ins.
Canonical URLs and Yoast

One last thing to keep in mind is that Yoast SEO sets canonical URLs to the default – whatever the permalink URL is in WordPress, Yoast chooses that as the canonical URL.
However, if you need to edit the canonical URL for a page with duplicate content or content that’s been published on another website, you can edit it in the box below the article body where it says ‘Canonical URL’.
Now you know how to set up Yoast SEO to optimise any WordPress site. If you have any questions, leave a comment below, and we’ll be happy to answer!
Comment on mark
Please remember that all comments are moderated and any links you paste in your comment will remain as plain text. If your comment looks like spam it will be deleted. We're looking forward to answering your questions and hearing your comments and opinions!