
If you’re thinking about becoming a reseller with Heart Internet and starting your own hosting business, we couldn’t be happier and eager to help.
In the weeks to follow, we’ll share all the information you need to build your hosting business using our award-winning Reseller hosting. You’ll not only learn how to set up your first hosting account but also how to brand and market your new business in order to boost sales.
This complete guide is divided into three parts so make sure you bookmark it so you can come back to it whenever you need to.
Let’s get started with Part One where we cover the Reseller Control Centre and The eXtend Control panel.
Your Reseller Control Centre
The Reseller Control Centre is your first stop. It’s where you’ll find everything you need to run your reselling business. This is where you can create new hosting accounts, manage customers and set up HostPay or other sales solutions.
It’s also where you can access additional products you may have purchased separately from your Reseller Pro account, such as Virtual Name Servers, Dedicated Server or Email Marketing. You can also have access to these products via your Heart Internet Customer Area, if you need to.
How to access your Reseller Control Centre
To access your Reseller Control Centre, simply log into your Heart Internet Customer Area and click the Reseller Control Centre link button. You can also go directly to the Reseller area, if you prefer.

If you want to make this your default page, all you need to do is to scroll down to the bottom of the Reseller Control Centre and check the box next to ‘Make the Reseller Control Centre my default page’.
Features of your Reseller Control Centre
Your Reseller Control Centre is packed with useful features. Let’s look at how you can take advantage of each of them to run your business.
Navigating your Reseller Control Centre
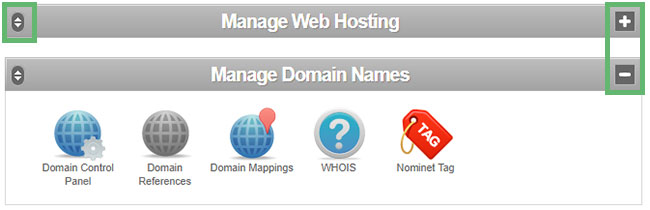
Take some time to familiarise yourself with your Reseller Control Centre and then organise it as you see fit.
All you need to do is to click the Up and Down arrow symbol on the top left to drag a panel up and down. You can also click the Subtraction or Addition symbol on the top right to minimise or maximise a panel.
If you’ve made changes but, for some reason, you want to return to the default set-up, you can always click the ‘Reset Interface Settings’ button at the bottom of the page.
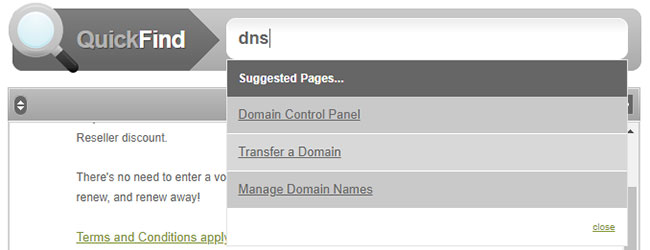
Quickfind
Use the search box to quickly locate any feature within your Reseller Control Panel. Simply type in the name of what you are looking for, and several suggestions will load.
The Main Reseller Control Centre Panels
Once you’ve organised your Reseller Control Centre as you like it, now you can start using the features within the panels.
The panels are:
Reseller News Feed
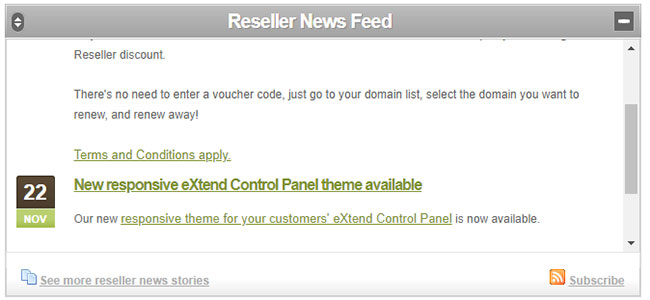
In this section you’ll find new features, the latest news and other information related to Resellers. You can always subscribe to the news feed through a RSS reader of your choice.
Manage Web Hosting
This is where you can manage everything that has to do with accounts on our shared hosting platform. You can add and manage accounts, add features, arrange backups as well as set up messages to send to your customers.
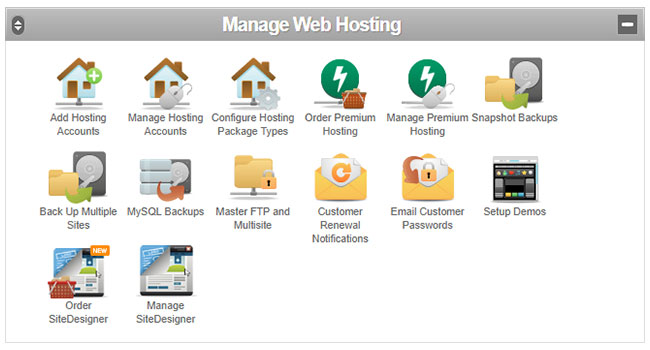
Here are the features available in Manage Web Hosting:
- Add Hosting Accounts – Attach your configured hosting packages to domain names to create hosting accounts
- Manage Hosting Accounts – Review and edit all the hosting accounts you’ve created
- Configure Hosting Package Types – Build hosting packages with the features you want to sell
- Order Premium Hosting – Order Premium Hosting packages for your customers
- Manage Premium Hosting – Manage your customers’ Premium Hosting packages
- Snapshot Backups – Order and set up automatic daily backups for your customers’ websites
- Back Up Multiple Sites – Choose a number of sites and back them up into one file
- MySQL Backups – Back up your customers’ MySQL databases
- Master FTP and Multisite – Set up a single FTP login for all or a few of your customers’ websites
- Customer Renewal Notifications – Enable renewal dates for your hosting accounts
- Email Customers Passwords – Send your customers a new eXtend Control Panel password via email
- Setup Demos – Create demonstration sites for your customers to try out some of the packages you’re offering
- Order SiteDesigner – Order SiteDesigner packages for your customers
- Manage SiteDesigner – Manage your customers’ SiteDesigner websites
Manage Domain Names
Use this feature to manage all the domain names you hold for you and your customers. This includes looking up domains, setting up domain information, and mapping domains.
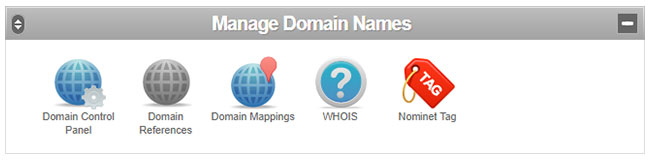
Here are the features available in Manage Domain Names:
- Domain Control Panel – Set up, customise, and enable the Domain Control Panel for your customers
- Domain References – Create references to attach hosting packages to domains that are registered elsewhere
- Domain Mappings – Map multiple domains to a single hosting account
- WHOIS – Look up the full details for any domain name, including owner and registrar
- Nominet Tag – Choose your preferred Nominet tag for all .uk domain names
Manage VPS, Hybrid, and Dedicated Servers
If you’re offering servers to your customers, this is where you can manage them.
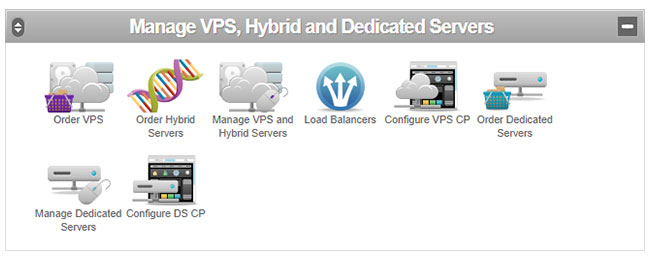
Here are the features available in Manage VPS, Hybrid, and Dedicated Servers:
- Order VPS – Configure and order Virtual Private Servers for your customers
- Order Hybrid Servers – Configure and order Hybrid Servers for your customers
- Manage VPS and Hybrid Servers – Manage your customers’ virtual servers
- Load Balancers – Buy and manage load balancers for virtual servers
- Configure VPS CP – Brand and configure the control panel for your customers’ virtual servers
- Order Dedicated Servers – Configure and order Dedicated Servers for your customers
- Manage Dedicated Servers – Manage your customers’ virtual servers
- Configure DS CP – Brand and configure the control panel for your customers’ dedicated servers
Sales and Integration
This feature allows you to set up our in-house sales and customer management system. If you want to use third-party systems such as WHMCS, simply use out API to do that.
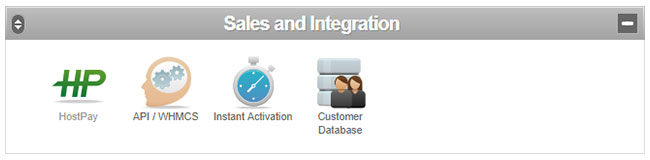
Here are the features available in Sales and Integration:
- HostPay – Our free built-in e-commerce and CRM system that is available to all resellers
- API/WHMCS – Information on our API and how to integrate it with WHMCS
- Instant Activation – Details of our Instant Activation Order System and how to use it
- Customer Database – Our built-in customer database to manage your customers
Manage Add-Ons
This is where you can buy and manage the add-ons your customers want, and add them to their accounts.
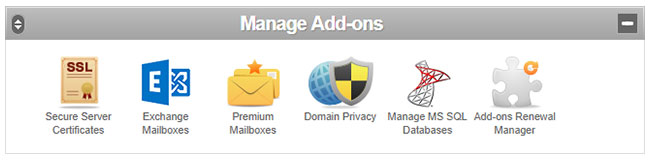
Here are the features available in Manage Add-Ons:
- Secure Server Certificates – Order personalised SSL certificates and install them on your customers’ accounts
- Exchange Mailboxes – Order and manage Microsoft Hosted Exchange mailboxes
- Premium Mailboxes – Upgrade your customers’ standard mailboxes to larger Premium mailboxes
- Domain Privacy – Cancel the existing Domain Privacy for your customers’ domains or order additional Domain Privacy
- Manage MS SQL Databases – Order and assign MS SQL databases for your customers
- Add-ons Renewal Manager – Review which add-ons are due to expire in the next 31 days
Reseller Preferences
In Reseller Preferences you can find lots of useful features that enable you to brand and personalise what your customers see.
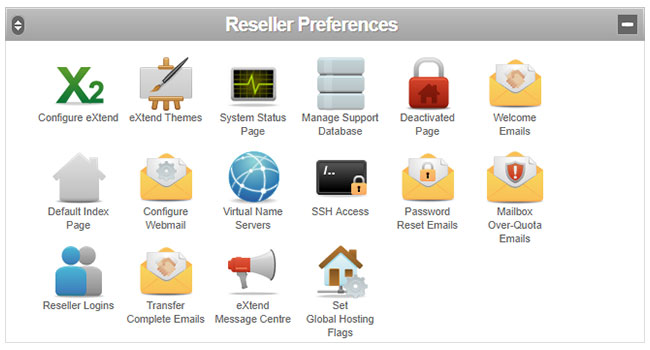
Here are the features available in Reseller Preferences:
- Configure eXtend – Configure your customers’ eXtend Control Panel with your company’s name and contact details
- eXtend Themes – Design the eXtend Control Panel so it matches your style and branding
- System Status Page – Build a branded system status page to keep customers up to date on the status of our servers
- Manage Support Database – Configure our Customer Support Database for your customers
- Deactivated Page – Create a page that goes live whenever you deactivate a hosting account
- Welcome Emails – Write and configure the email that is sent to customers when they get a hosting account
- Default Index Page – Create the page that goes live when you create a new hosting account
- Configure Webmail – Configure your customers’ Webmail with your company’s information
- Virtual Name Servers – Order virtual nameservers to use for your customers’ DNS settings
- SSH Access – Request SSH access for your customers
- Password Reset Emails – Write and set up the email that goes out whenever a customer requests their eXtend Control Panel password to be reset
- Mailbox Over-Quota Emails – Write and configure the email that goes out when your customer reaches 90% of their mailbox capacity
- Reseller Logins – Create additional logins for your Reseller Pro account for your employees
- Transfer Complete Emails – Write and configure the email that is sent out when your customer’s domain name transfers over successfully
- eXtend Message Centre – Create messages that are displayed at the top of your customers’ eXtend Control Panels
- Set Global Hosting Flags – Apply changes to all your hosting packages and accounts
Reports
Use our reporting features to monitor how your accounts are doing.
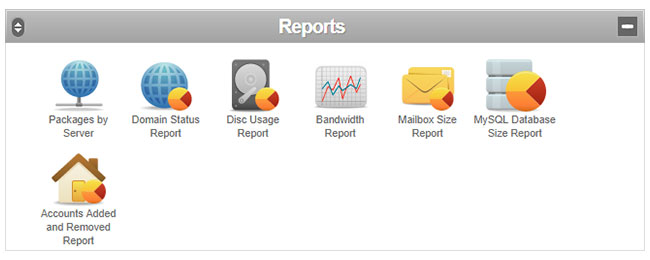
Here are the features available in Report:
- Packages by Server – See all your hosting accounts and which server they are on
- Domain Status Report – See where all your domain names are hosted and their renewal dates
- Disk Usage Report – Check how much space your hosting accounts are using and their limits
- Bandwidth Report – Check how much bandwidth your hosting accounts have been using
- Mailbox Size Report – See the size of your customers’ mailboxes
- MySQL Database Size Report – See the size of your customers’ MySQL databases
- Accounts Added and Removed Report – Review a graph of the number of accounts you have added and removed over the past 12 months
Help
Whenever you need further help or guidance, refer to this section. In it you’ll find plenty of PDF guides filled with in-depth information about the features available to you as a Reseller.
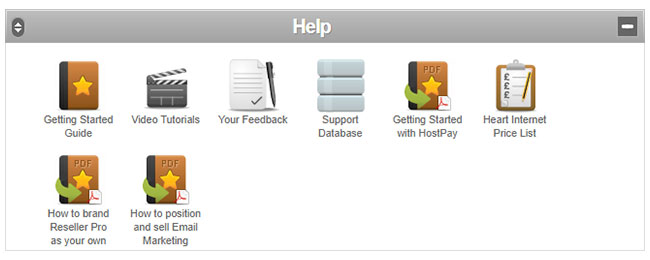
Here are the features available in Help:
- Getting Started Guide – A basic guide that explains how the reseller account works
- Video Tutorials – Tutorials on working with HostPay
- Your Feedback – A form that you can fill out to give us feedback on the Reseller Control Centre
- Support Database – Our extensive support database
- Getting Started with HostPay – A PDF guide that explains how HostPay works
- Heart Internet Price List – A list with the current prices we charge for our services
- How to brand Reseller Pro as your own – A PDF guide with tips and information on how to brand your reselling business
- How to position & sell VPS – A PDF guide with advice and information on how to sell VPS to your customers
- How to position and sell Email Marketing – A PDF guide with advice and information on how to sell Email Marketing to your customers
You can also reach our Customer Services team via ticket or live chat.
Additional Reseller Control Centre Panels
View/Manage a Domain
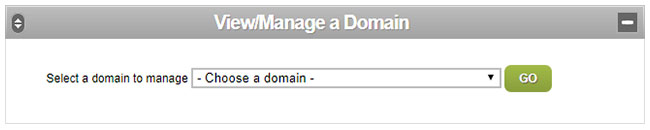
This is where you can manage your customers’ individual packages. You can make changes, run diagnostics, manage domain mappings, or disable the account.
Access eXtend Web Hosting Control Panel
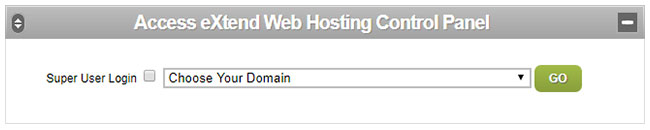
From here you can access your customers’ eXtend Control Panels and see what they see when they log into their panel. Use the drop-down menu to choose a domain and then go into their eXtend Control Panel to make any changes or solve any issues they might be experiencing.
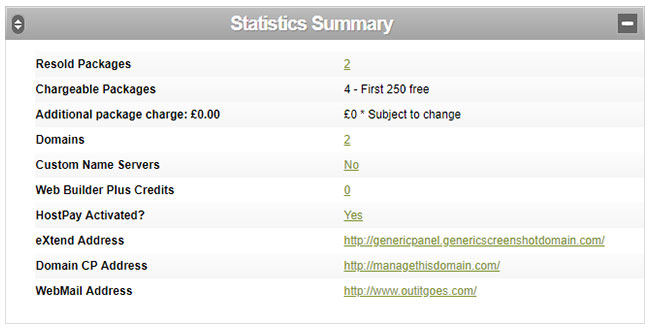
Statistics Summary
Want to know how well your business is doing? Go to the Statistics Summary to find information on packages, domains, and more.
This is also where you can find the addresses to give your customers for their eXtend Control Panel, Domain Control Panel, and Webmail.
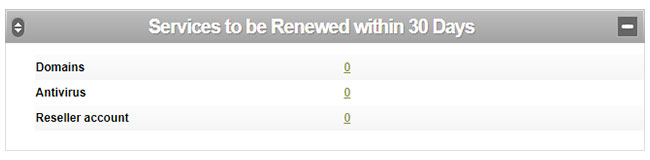
Services to Be Renewed Within 30 Days
If there are any services coming up that need renewing, this is where you can see them and also where you can renew them as needed.
The eXtend Control Panel
The eXtend Control Panel is Heart Internet’s web hosting management platform. It’s built in-house by our developers and designed to make managing a site easy and hassle-free.
Each shared hosting account you create within your Reseller Pro account automatically comes with a free eXtend Control Panel. Through the eXtend Control Panel, your customers can take control of their hosting account, meaning it’s where they can add domain names, build sites, and manage add-ons.
How to Access the eXtend Control Panel
Your customers can access the eXtend Control Panel in a few different ways, as follows.
Through HostPay
If you are using HostPay, your customers can log into your HostPay website and access their eXtend Control Panel without having to re-log in. Much like how the Heart Internet Customer Area includes a link to all your domain names, the HostPay Customer Area will share a link to their site.

Through a personalised URL
You also have the option to create a single point of reference for all your customers with your own domain name or subdomain.
For instance, if you want your customers to access eXtend via your main website, you could create and point them to a link similar to this one:
http://controlpanel.genericscreenshotdomain.com OR http://extend.genericscreenshotdomain.com
The name you choose is up to you, and you can set it up on whichever domain name you want.
If you chose “(all domains)” as your option, you can have it be the subdomain on any domain name your customer has purchased. This means that http://control.genericscreenshotdomain.com and http://control.genericville.uk would direct to the same location – the login for the eXtend Control Panel.
Follow these steps to set up the Control Panel web address:
- Log into your Reseller Control Centre
- Click ‘Configure eXtend’ under ‘Reseller Preferences’
- Enter the subdomain you want to use
- Choose the domain name you want to use from the drop-down menu
- Click ‘Update Now’
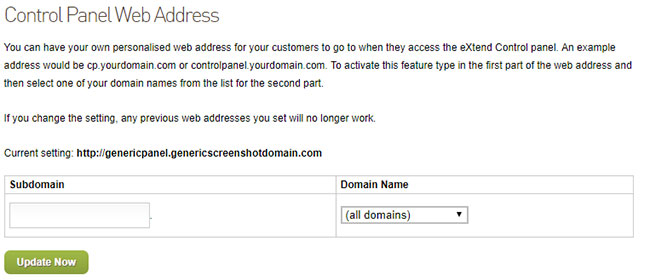
Keep in mind that it can take up to 24 hours for the changes to propagate across the web.
Through the Default eXtend Control Panel Address
Haven’t set up a personalised web address or don’t have HostPay installed? That’s ok. Your customers can also access their eXtend Control Panel by going to http://extendcp.co.uk/.
This is our default eXtend Control Panel address and it’s an easy and quick way for your customers to log into their control panel.
Accessing Your Customers’ eXtend Control Panels
You can always access your customers’ eXtend Control Panel if you need to make changes, such as install software, or to fix any problems they’re having.
You can also review the changes you’re making to the design and style of their eXtend Control Panel and see how it looks to your customers.
Here’s how you can get access to your customers’ eXtend Control Panels:
Manage Hosting Accounts
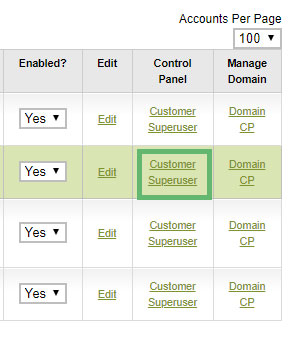
If you go to the ‘Manage Hosting Accounts’ page in your Reseller Control Centre, you can see all your customers’ domains.
Click ‘Customer’ under the Control Panel column to see the eXtend Control Panel as it appears to your customer. Click ‘Super User’ to see all the available features for that account (including features you have not activated for that customer).
Reseller Control Centre
A second method to get access to the eXtend Control Panel is through the ‘Access eXtend Web Hosting Control Panel’ panel on the Reseller Control Centre main page.
Use the drop-down menu to choose a domain name and click ‘Go’. If you check the box next to ‘Super User Login’ you can log in as a Super User and see all the features available for that account.
Your Customers’ eXtend Control Panel
A third method to access your customers’ eXtend Control Panels is from another customer’s eXtend Control Panel.
So if you’re already logged into a customer’s panel, you can switch to another customer’s panel by simply choosing another domain from the drop-down menu list at the top and clicking the “Go” button.
Again, if you also wish to see all the features available for that account, log in as a Super User by checking the box next to ‘Super User Login’.
This also allows you to switch to a Super User once you are logged into the customer’s eXtend Control Panel.
![]()
General Features
The eXtend Control Panel is packed with useful features that are available to all your customers, no matter how you set up their hosting packages.
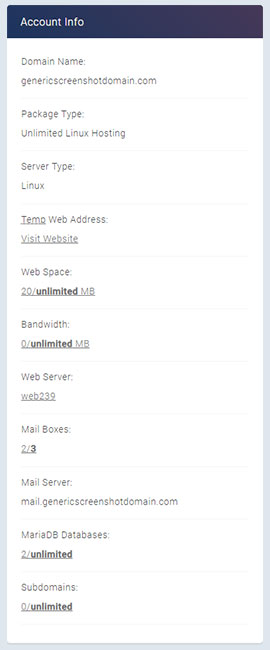
Account Info
The Account Info panel includes all the information your customers need for their website, from their domain name and mail server name to the package they are on, the type of server they’re on, how much web space and bandwidth they’re using, how many mailboxes, databases, and subdomains they’re using.
It also includes a link to a temporary web address, so that they can check out their website even if the domain hasn’t fully propagated to that account.
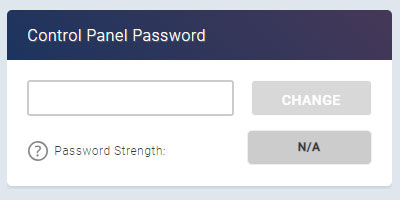
Control Panel Password
This is where your customers can go to change their eXtend Control Panel password, as well as to set different passwords for their Control Panel and their FTP access.
The Password Strength checker will ensure they choose strong passwords that meet standard safety criteria – at least 8 characters long and with at least one number and one special character.
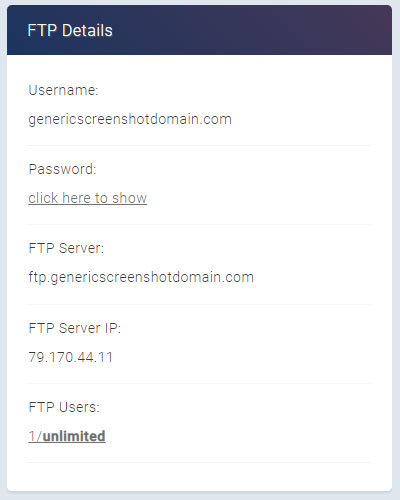
FTP Details
This is where they can find their FTP details, including username, password, and FTP server. If they have difficulty using the FTP server, they can also use the FTP IP address.
FTP Unlock
Due to security measures, we automatically lock FTP access to our servers to prevent anyone from accessing your sites through FTP. So whenever your customers want to upload files using FTP, they will need to unlock FTP access for the period of time they need, from one hour (recommended) and up to 28 days (not recommended).
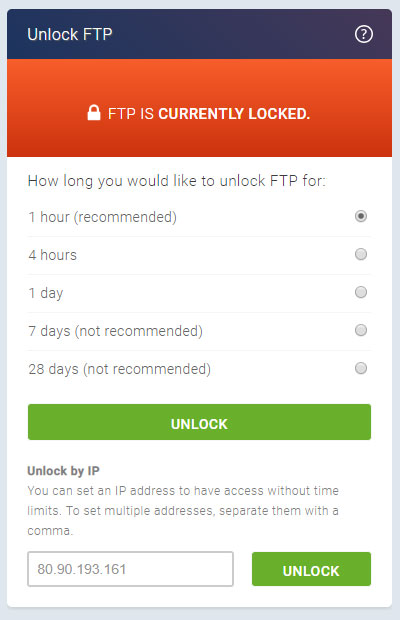
They also have the option to unlock FTP for a specific IP address, which gives that IP address permanent access to their site through FTP.
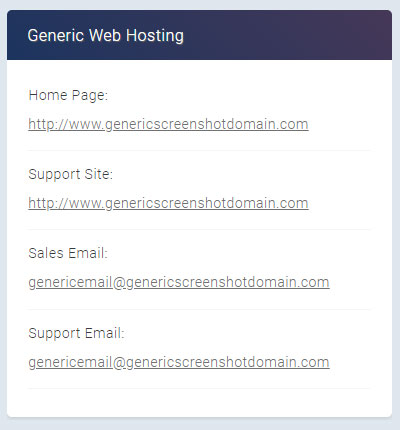
Your Home Page
You have the option to add your URL, support site, and sales and support emails onto your customers’ eXtend Control Panel.
Support
Your customers can find a ‘Help’ button at the top of the page, along with a Home button and a Log Out button. This sends them to our white-label Customer Support Database, where they can find more information and answers to possible questions they have about websites, domain names, email accounts, and more.

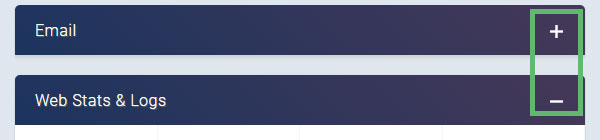
Editable Panels
Your customers can see the main panels in their eXtend Control Panel only if you’ve enabled at least one of the features available within.
You can move the panels up or down, and minimise them so that customers only see what they want to see. To move the panels, click the Up and Down arrow symbol on the top left and simply drag the panel up or down. To minimise or maximise a panel, click on the Subtraction or Addition symbol on the top right.
Keep in mind that the screenshots in this guide show the features as they’re available to a Linux hosted account. If you host a site on a Windows account, the features are different and some may not appear in your customers’ accounts.
Files
This is where your customers can edit their website, either using the File Manager or FTP.
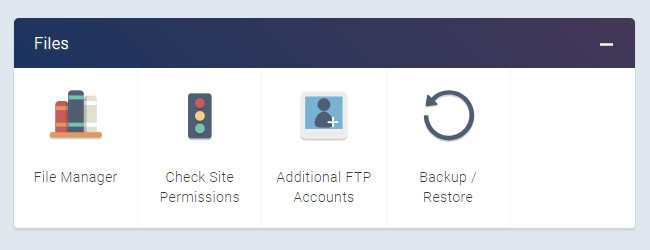
Here are the features available in Files:
- File Manager – Upload, edit, or remove files and folders on your website
- Check Site Permissions – Check all the permissions across your site
- Additional FTP Accounts – Add and edit additional FTP logins
- Backup /Restore – Create, download, or restore a full or partial backup of the site
- Snapshot Backups – If enabled, set up automatic daily backups of the entire site
The Email panel holds everything your customers need to manage their email. This is where they can create new email addresses and log into Webmail.
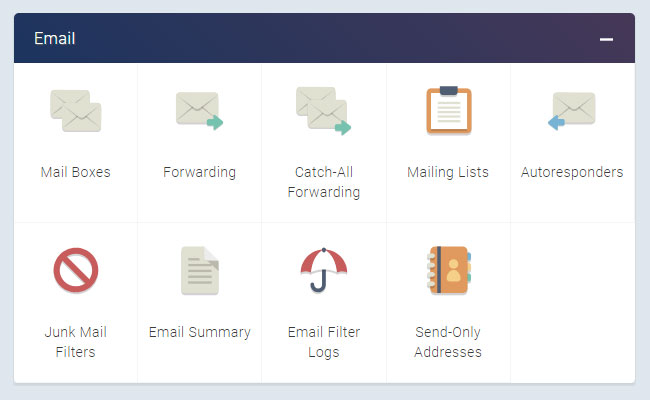
Here are the features available in Email:
- Mail Boxes – Add new mailboxes or check and edit existing ones
- Forwarding – Create email addresses that will automatically forward to another address
- Catch-All Forwarding – Create a single email address that will automatically forward all emails to a different address
- Mailing Lists – Create a mailing list and send a single email to multiple subscribers
- Autoresponders – Create an email address that sends an automatic response when emailed
- Junk Mail Filters – Activate a spam email filter on email accounts and place all junk mail into a separate folder
- Email Summary – See all your email settings in one easy location
- Email Filter Logs – Get a weekly log of all the email filter activity in your email
- Send-Only Addresses – Create an email address to use only to send emails, not to receive them
Web Stats & Logs
This section is where customers can go to review visitor logs and the bandwidth they’ve used. It’s also where they can install a range of analytics packages that allows them to keep track of their site’s statistics and visitor activity.
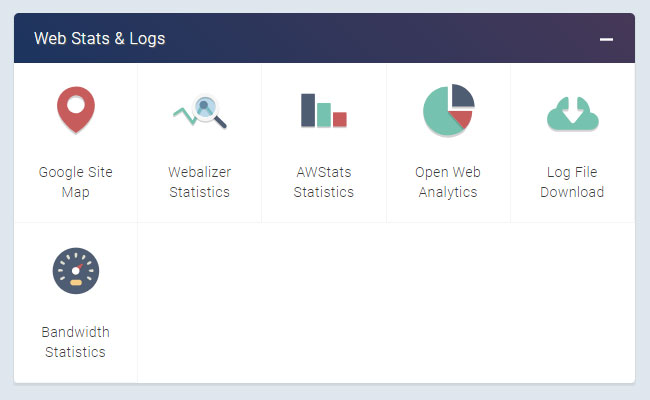
Here are the features available in Web Stats & Logs:
- Google Site Map – Create an XML sitemap to use within Google Sitemaps to enable Google to more intelligently crawl your site
- Webalizer Statistics – A graphical statistics programme that reviews the access logs provided
- AWStats Statistics – A detailed site analytics software
- Open Web Analytics – A web statistics package
- Log File Download – View the latest visitors to your site, errors, and download the access log for more information
- Bandwidth Statistics – Check how much bandwidth you’ve used in the past day, month, and year
Web Tools
In the Web Tools panel your customers can find more advanced tools that they can use to do more with their websites. These include databases, cron jobs, subdomains, redirects, and more.
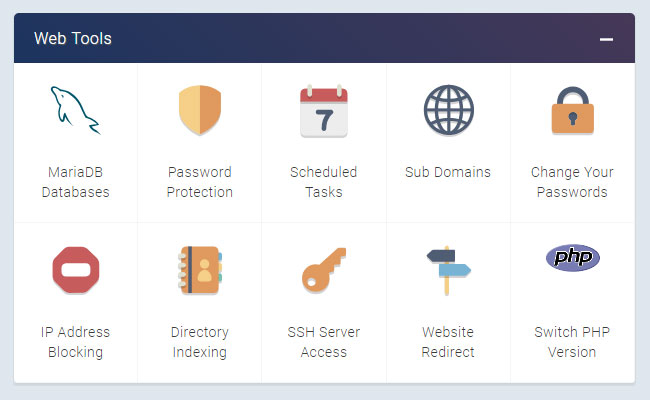
Here are the features available in Web Tools:
- MariaDB Databases – Create and manage MariaDB databases
- Password Protection – Protect certain directories with a username and password
- Scheduled Tasks – Set up cron jobs to perform commands at certain times
- Sub Domains – Set up subdomains to create separate sections of your website
- Change Your Passwords – Change your eXtend Control Panel password or your FTP/SSH password
- IP Address Blocking – Block certain IP addresses or ranges from visiting your website
- Directory Indexing – Choose whether your directories are seen as file listings or not
- SSH Server Access – If enabled, it allows you to log directly into your hosting account through SSH
- Website Redirect – Point directories on your website to redirect to other sites
- Switch PHP Version – Select which version of PHP you want to run on your website
Website Help & Diagnostics
The Website Help & Diagnostics panel gives your customers extra information about their websites like what software is available on the server and how much space they’ve used. They can also check their site’s code for errors.
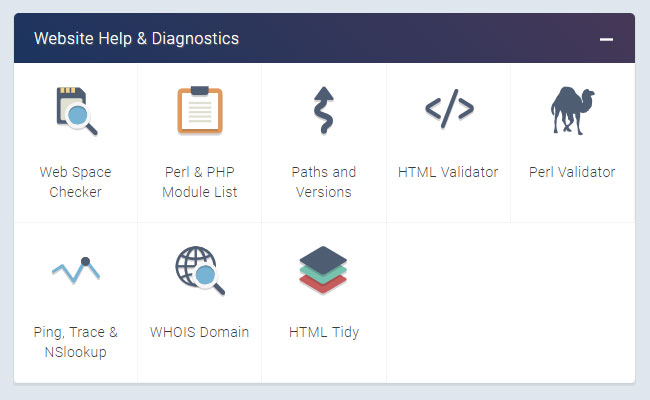
Here are the features available in Website Help & Diagnostics:
- Web Space Checker – See how much space you’re using on your entire account or within a certain directory
- Perl & PHP Module List – See which Perl, PHP, and Pear modules are installed on your account’s server
- Paths and Versions – See the server paths for software installed on the server and the version running
- HTML Validator – Check your HTML code using the W3C Markup Validation Service
- Perl Validator – Validate your Perl programming with this script checker
- Ping, Trace & NSlookup – Look up an IP address, hostname, or domain
- WHOIS Domain – See the full WHOIS information on any domain name
- HTML Tidy – Clean up your HTML to cut down on file size and problems
E-Commerce
Offering e-commerce solutions to your customers? We’ve got your covered here as well.
Our E-Commerce panel includes lots of useful features such as one-click installers for e-commerce solutions, links to third-party payment systems, as well as information on our shared Secure Server.
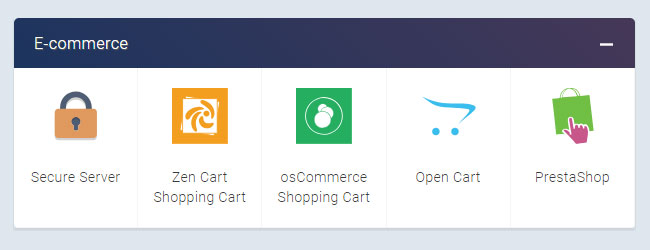
Here are the features available in E-Commerce:
- Secure Server – How to access the shared secure server for convenient SSL certification
- Zen Cart Shopping Cart – A popular e-commerce solution
- osCommerce Shopping Cart – An e-commerce solution with support for PayPal and WorldPay
- Open Cart – A feature-filled e-commerce system
- PrestaShop – A leading online shopping system
CGI Scripts
We also provide a generous collection of one-click software installers including popular favourites such as WordPress, Joomla!, Moodle, Drupal, Squirrel Mail, dotProject, and Status.net. Choose the ones you prefer, and also automatically install software onto newly created hosting packages.
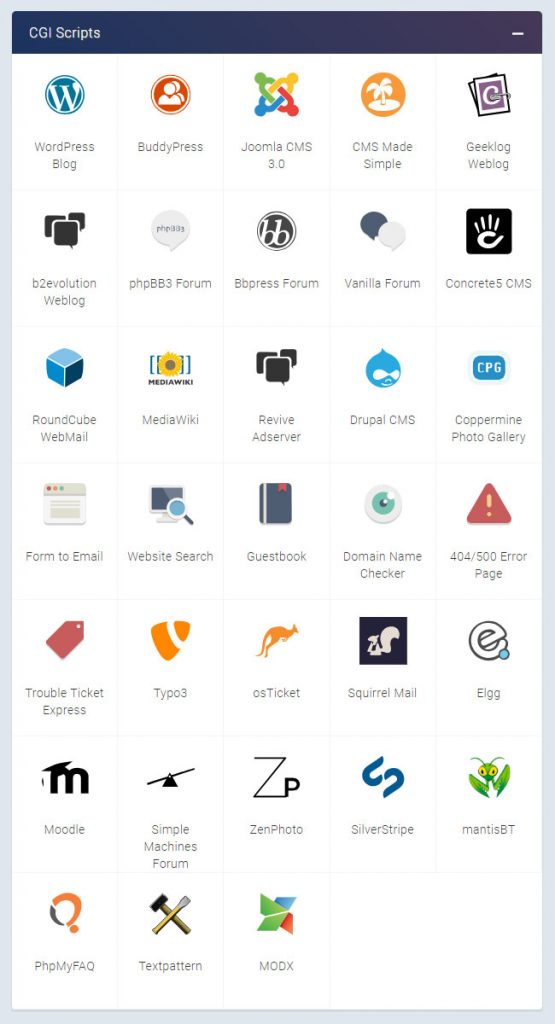
Here are the types of packages available in CGI scripts:
- Blogging software and content management systems – Build a blog or website and manage the design and content with ease with WordPress, Drupal,and more.
- Social media, forums, and bulletin boards – Create communities and interact with your visitors with BuddyPress, phpBB3, and more.
- Photo and multimedia galleries – Show off your photography or artistic skills with Coppermine, ZenPhoto, and more.
- Project management and tracking – Keep track of projects with ease with MediaWiki, mantisBT, and more.
- Other web applications – Everything from password protection to search engines
That’s it for Part One. Hopefully, you now understand how your Reseller Control Centre and eXtend Control Panel work and the great features that you and your customers can take advantage of.
Have any questions or concerns? Feel free to share them in the comments below.