

;)
;)
;)
;)
;)
;)

;)
;)
;)
After you work on changes in your Managed WordPress staging site, you can push all the changes you made to your live site.
Note: Staging sites are available if you have a Deluxe, Ultimate, Developer, or Pro Managed WordPress account. If you have a Basic account, you need to upgrade your account to use a staging site.
- Go to your Heart Internet control panel and open the Managed WordPress product page.
- Next to Managed WordPress Websites, click Manage All.
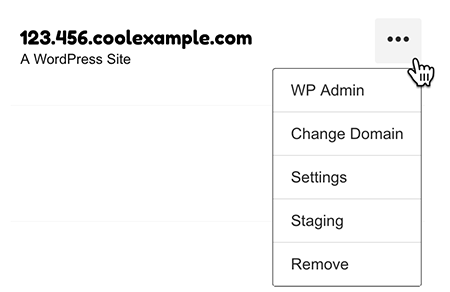
- For the website you want to use, click the three-dot icon and select Staging.
- Click Sync Options.
- For Pro Managed WordPress accounts, select Copy staging to production, and then select one of these options:
Choose this option... ...to do this: Theme and plugin files Overwrite only the live theme and plugins, and any additional code (for example, CSS or JavaScript) on the live website. Does not overwrite uploads, posts, pages, and plug-in configurations on the live website. All files and database Overwrite all files (plugins, themes, media) and the site database (posts, pages, comments). For Deluxe, Ultimate, and Developer accounts, select Push staging to production, and then select Overwrite content to push all your changes (for example, new posts, comments, or pages) to your live website.
Warning: The sync process will only overwrite files by default. If you push with Overwrite content selected, the database will also be overwritten. Make sure that the content you have in the staging site is what you want on the live site before you push the changes to production.
-
For Pro accounts, click Sync Now.
For Deluxe, Ultimate, and Developer accounts, click Sync.